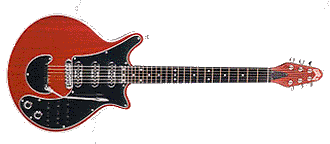
 Guild Pro '93 replica
1st October 2005
We did not really have much time today, but we had decided that the scratchplate template we had created last week was not sufficient. There were parts of it not looking correct, parts not big enough to cover certain areas, etc, etc. So, we decided to start again. This took most of the morning until we were happy with the results.
We then moved onto lightly sanding and wirewool-ing the neck down. This gave the neck a very VERY smooth finish.
5th October 2005
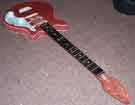
We had decided that the neck was going to be just too low, so we added a couple of pieces of veneer into the neck pocket to rise the neck slightly.
6th October 2005
With not much time I added some small pieces of veneer to the end of the oak centre (where the neck joins). This would give the neck a seemless link into the body.
9th October 2005
Tonight I shaped the venee that I had added the previous time. This took some time as I had to make it seemlessly integrate from the neck to the body, with the added complexity of the binding.
10th October 2005
Today I set myself a few targets, but unfortunately did not complete one as I was called away to sort a problem, only to return 5 hours later!
The only outcome from today was sanding down half of the side of the body. This needed a lot of work as the bearing on the router had left a big impression on the veneer, and there was lots of glue, etc.
DOH!! Oh dear, oh dear!
Unfortunately, I had an accident today which involved my RS and a concrete floor!
I think you can guess that the outcome was not pretty. Fortunately though,
the damage sustained was not major, purely cosmetic.
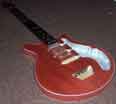
During the evening I got chance to do more on my RS. I firstly attempted to remove as much of the damage as possible, which was farely successful. I also finished off sanding the sides of the body, before applying the red mahogany dye to the entire body.
11th October 2005
I had a little time this morning so I added some more frets to the fretboard.
During the evening I added a few more frets to the fretboard, as well as applying the first coat of sanding sealer to the body.
When the first coat had dried I scraped off the dye and the sanding sealer from the binding. Now it really started to look like the Red Special!
15th October 2005
During the morning I had a little time so I added another coat of sanding sealer to the body. I sanded the body before applying the coat.


