


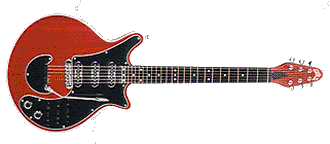
 Guild Pro '93 replica
1st July 2005
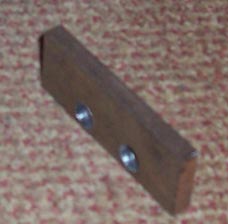
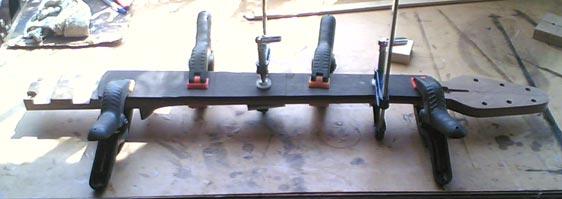
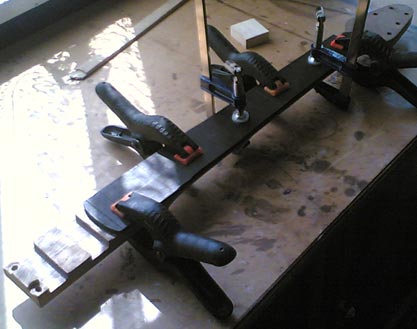
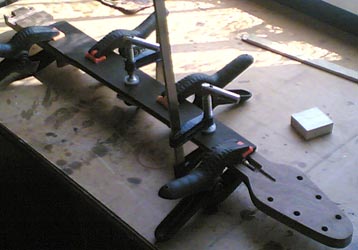
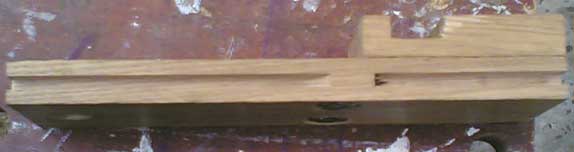
Today I did not have much time but I made a start on the bolt retainer for the tremolo unit.
I cut off the necessary piece of metal, which infact was half cut off anyway, so I just utilised that. I then filed and sanded it down.
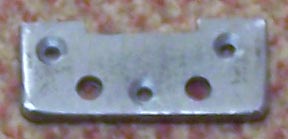 (picture from after drilling the holes)
2nd July 2005
Today turned out to be a big day, with many positive outcomes.
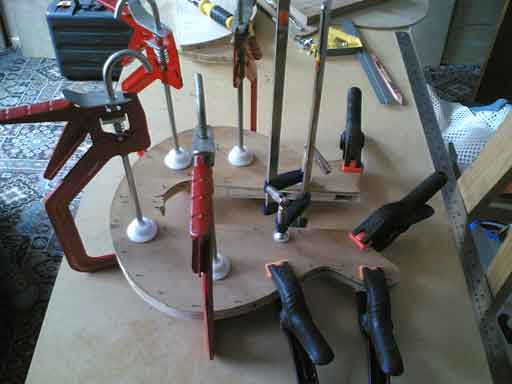
We started off by making the truss rod channel deaper to accomodate the bend in the truss rod. The truss rod must bend in the opposite direction to the strings. To do this we added a piece of wood.

By adding this simple piece of wood it would force the truss rod to bend appropriately. Thus:

Whilst we had the router out we looked at doing other routing jobs. So we started off by routing out the recesses for the pickups, and the knife-edge. Next on the agenda was to thin down the headstock, and get the correct angle.
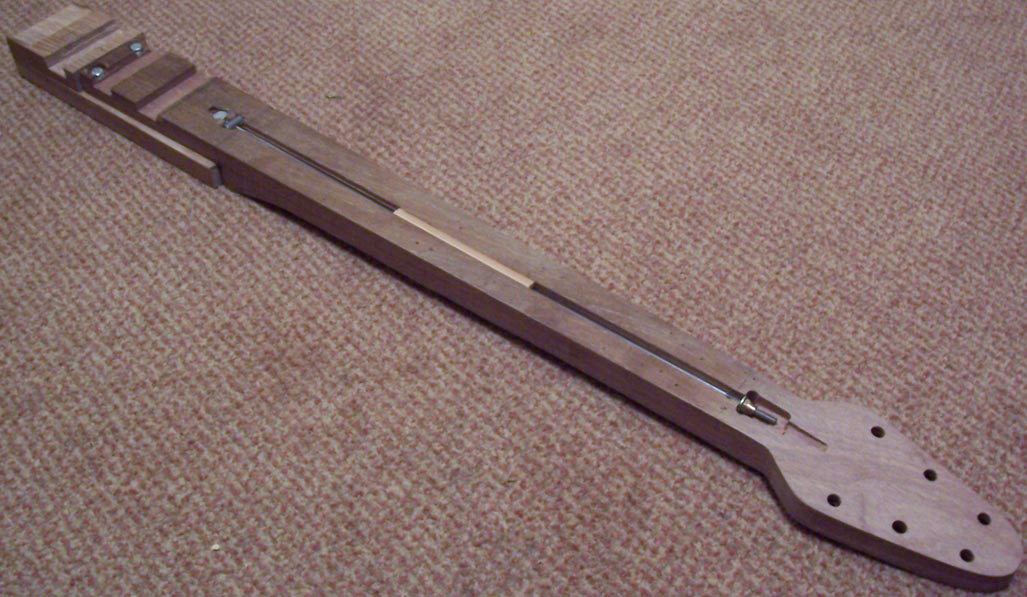
My girlfriend's father cut the truss rod whilst I marked up the holes for the machines head/tuning pegs, which we then drilled. This was acheived by drilling a pilot hole all the way through from the top, then using a 10mm drill bit to drill in half-way through from the bottom. Then from the top using an 8mm drill bit. The difference in size is not a major cause for concern, it will just make the machine heads/tuning pegs fit better.


3rd July 2005
Today I first started by threading the truss rod end. I could now actually fit the truss rod into the neck (although not "properly"). I then moved onto sanding down the headstock as it is 2mm too thick. I managed to do some of it but mahogany is very tough!


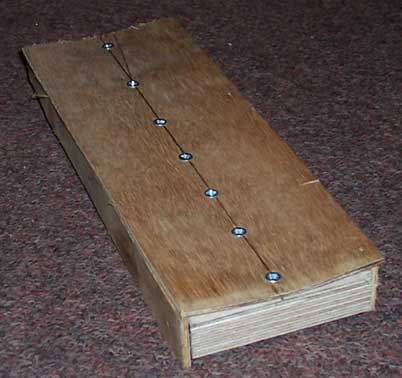
I finished the evening by marking out the holes on the bolt retainer.
4th July 2005
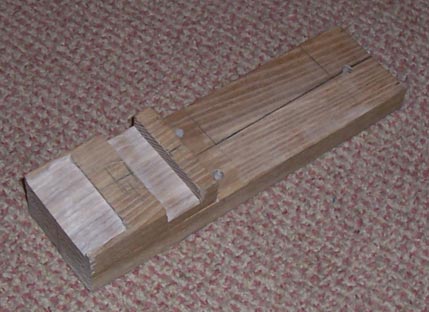
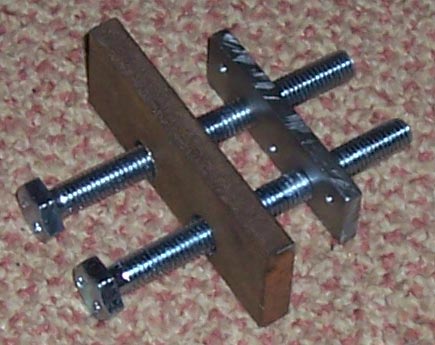
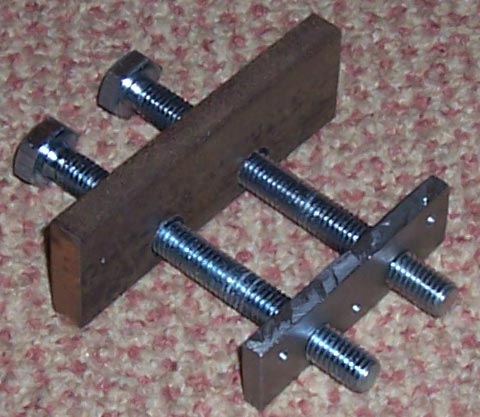
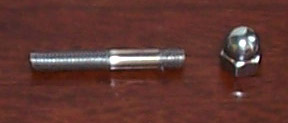
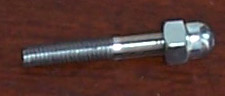
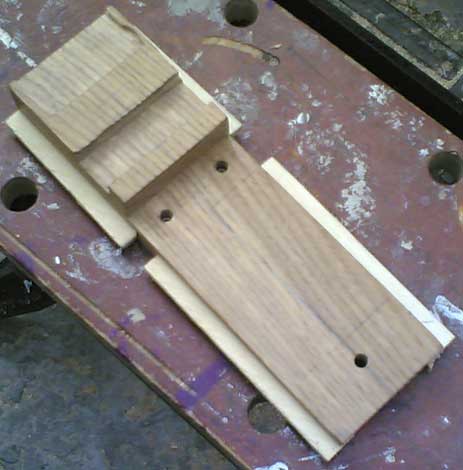
Today I didn't have much time so I just drilled the holes in the bolt retainer, created a new roller for the roller bridge, which is still in a testing stage, and then made a start on cutting the metal for the tremolo block.
7th July 2005
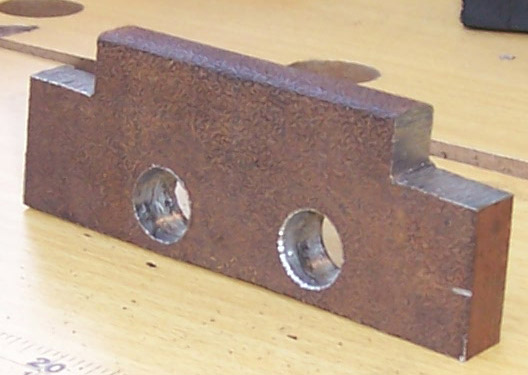
I made a mistake with my bolt retainer which meant that the holes for the bolts were too big to be tapped. So I set about recreating it, but from 5mm thick steel instead of 3mm. This would give the bolts more stability, which was another potential problem with the first attempt.
I started by drilling the holes for the bolts, and then tapping them. After this was successful I moved onto drilling and counter sinking the holes for the screws that attach the block to the oak centre.
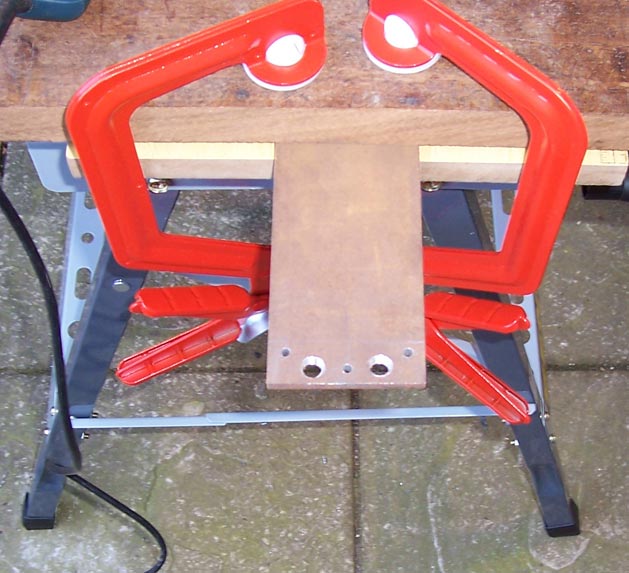
I then had to clean it up and cut it off.
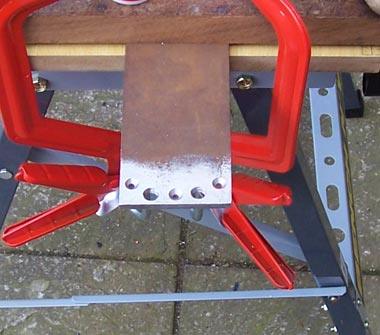

With the bolt retainer finished, which took alot of hard work and graft/elbow grease/effort, I moved back onto the tremolo block. I had already started to cut the steel but today I continued by drilling the clearance holes that the bolts will pass through. I then continued the cut off the required section from the length of steel.
So, by the end of todays hard work the tremolo unit starts to take shape.
8th July 2005
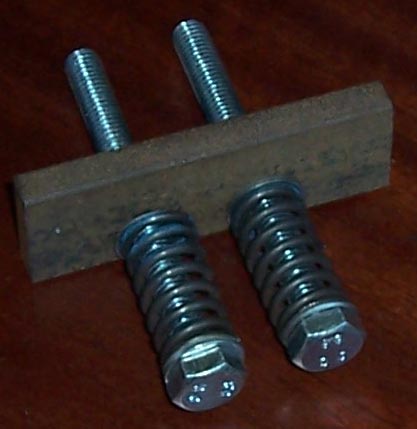
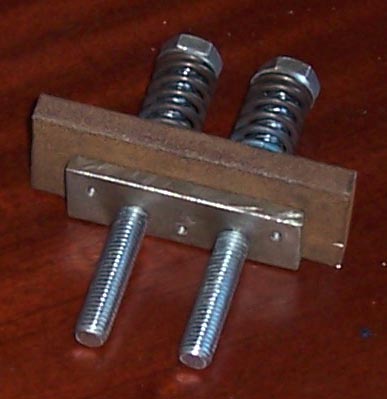
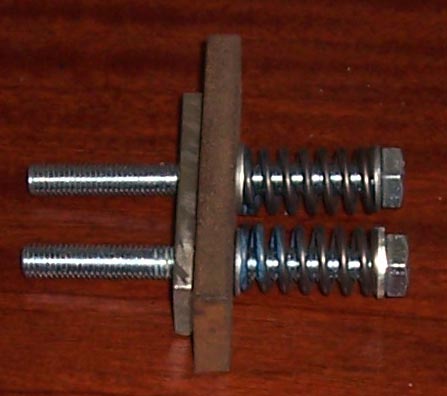
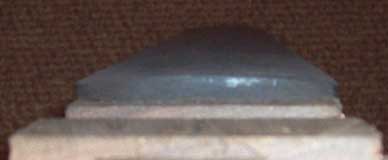
The springs arrived today so I fitted them onto my 'work in progress' tremolo unit.
9th July 2005
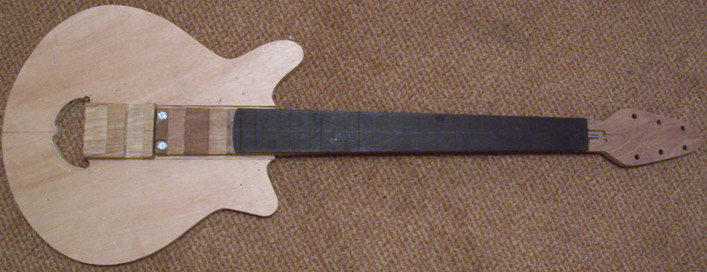
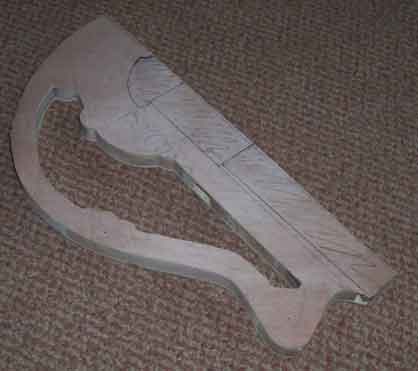
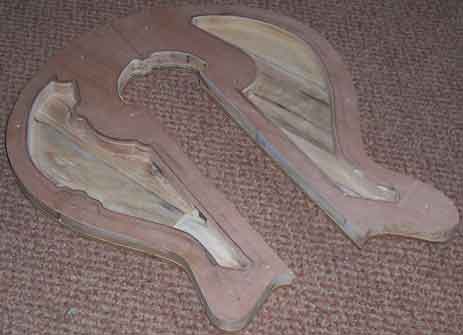
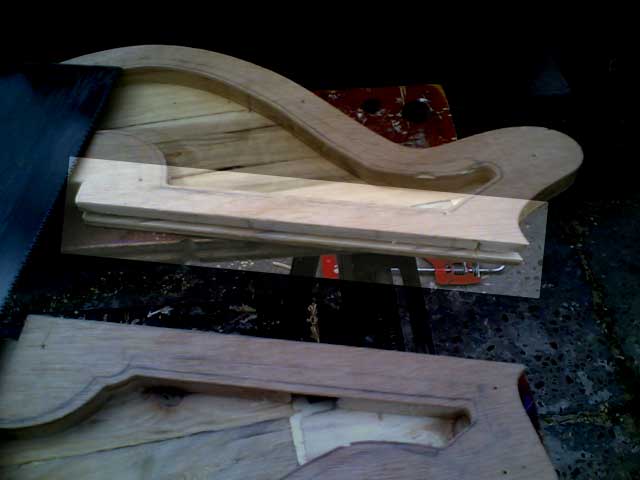
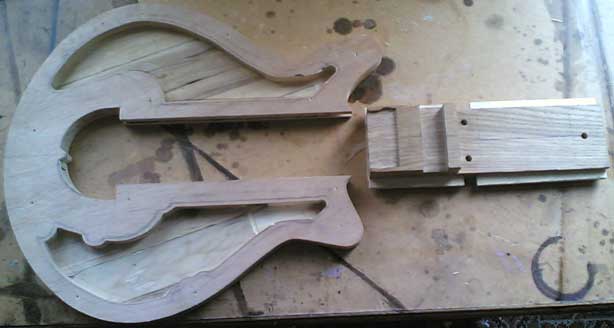
We started out today by making the the curve on the back of the neck. We started off by using a router, and then turned to a spoke shave, followed by a Japanese rasp and a normal rasp for the harder to reach places. The neck was now shaped more-or-less how it should be, except that it needs sanding down, but this will be done later after other things have been done.

Next we looked at attaching the fretboard to the neck. We firstly lined everything up and cut off any excess from the fretboard. This would then make it easier on the router as there would not be as much ebony to cut off. After all, ebony is a very hard wood!!
After cutting the fretboard down we wrapped the truss rod with tape and installed it and created a new 'block' from the excess ebony. We then carefully glued the fretboard onto the neck and left to dry.
10th July 2005
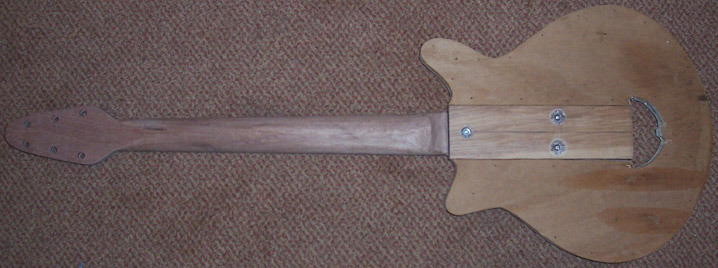
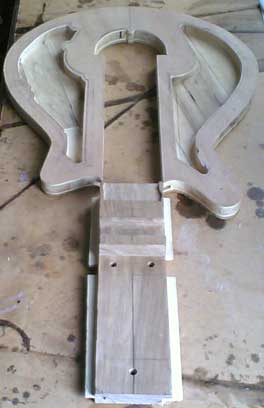
This morning the glue had dried so I could take off the clamps and see the guitar taking more shape.

The pictures above show the neck looking very strange as the sides of the fretboard are not cut down to the width of the neck. This will be done next time.
13th July 2005
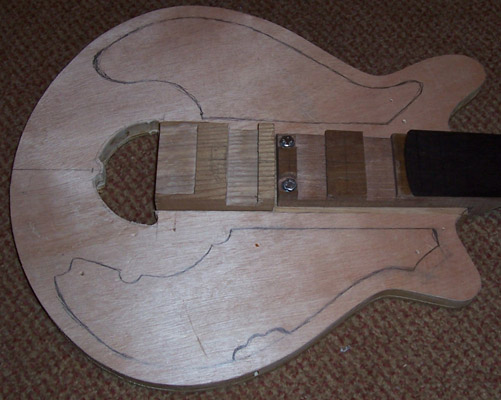
I started this evening by removing the 'lips' of the fretboard that overhang the neck. This was done simply by using a router witha bearing. The bearing was set to the neck, and simply removed the excess ebony. I then sanded down the main neck and the headstock.


I had some more time so I continued with the tremolo block. I removed the excess steel from the sides and then looked at how I was going to create the arm connection. I discovered I did not have all the parts and tools needed so I ended this evenings progress until I get the one tool I need. I do not want to make any errors until I have all the parts and tools needed.
14th July 2005
I did not have much time this evening so now I got hold of the tool needed, I simply created the tremolo arm screw. This is the screw that joins the tremolo arm to the tremolo block.
15th July 2005
I did not have much time this evening again so I drilled the hole for the tremolo arm screw into the tremolo block. I then threaded the hole using a tap 'n' die set and fitted the tremolo arm screw.

16th July 2005
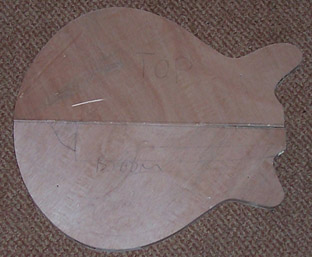
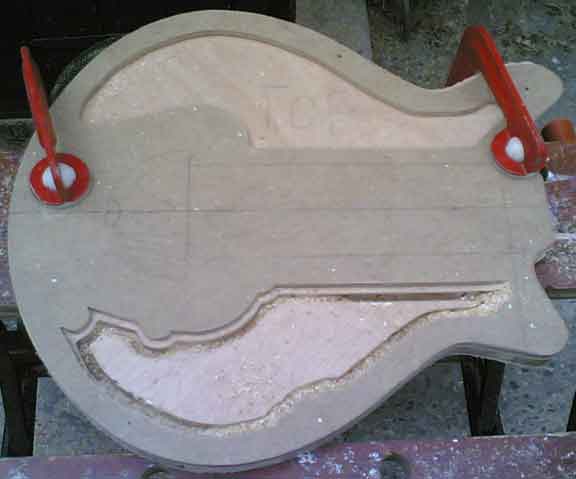
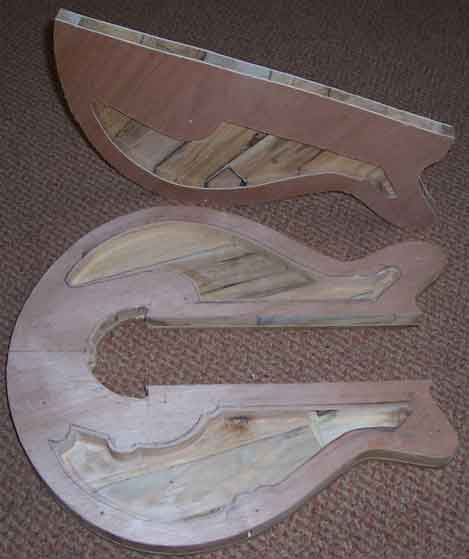
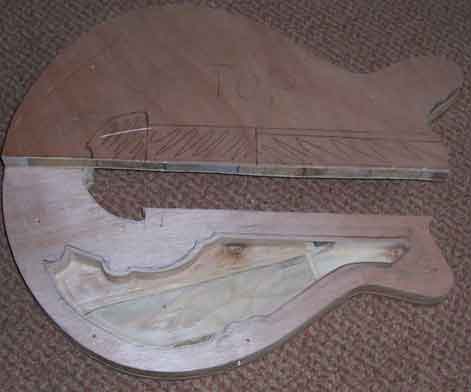
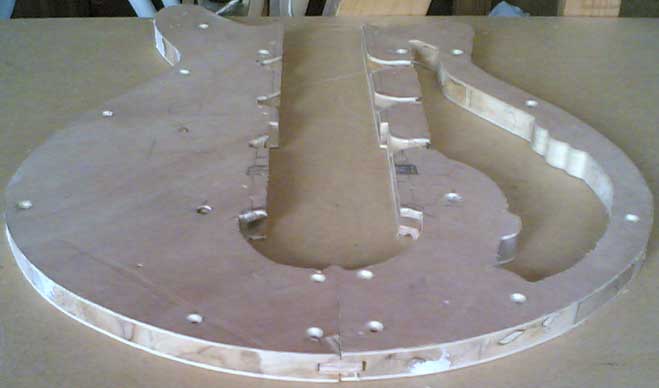
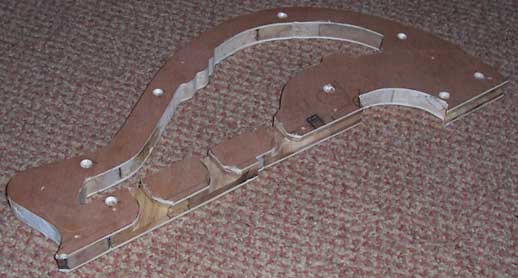
The first job of today was to mark out the body on the blockboard. We decided to cut out one entire piece for the bottom, and have the top piece in two sections. We decided to do this to minimise waste.
The blockboard that we have is unfortunately only 16mm thick. Doubling this would only get to 32mm instead of 36mm. To pad out the remaining space we found some 4mm plywood that would be perfect, so we marked out an entire piece to be placed under the guitar.
We temporarily attached the plywood to the underside of the bottom section of blockboard, as whatever we did to the bottom section we would also need to do to the plywood. So we marked out the area for the oak centre and tremolo clearance, and then cut it out. After making sure the oak centre fitted perfectly we glued the plywood onto the underside of the blockboard.
The pictures below shows the bottom section of blockboard with the oak centre temporarily in-place (for effect), and also the top section in two pieces.

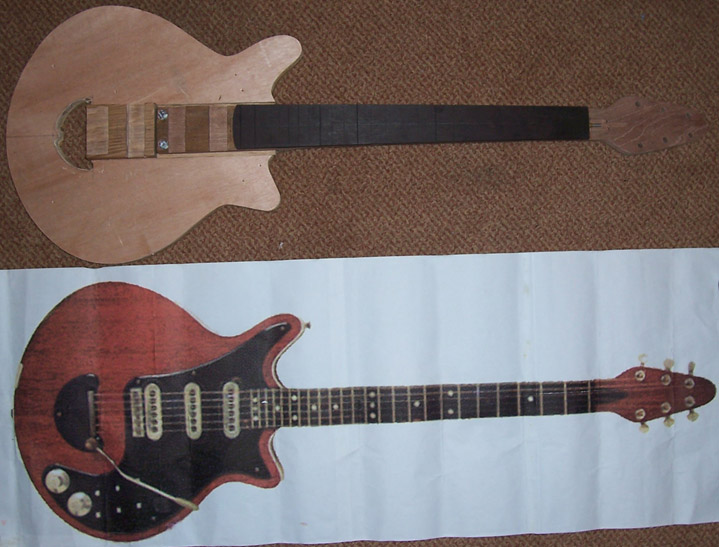
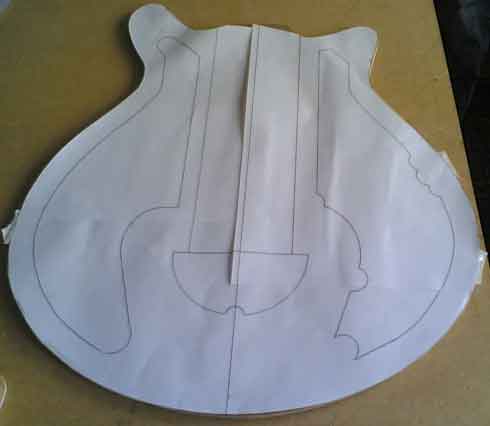
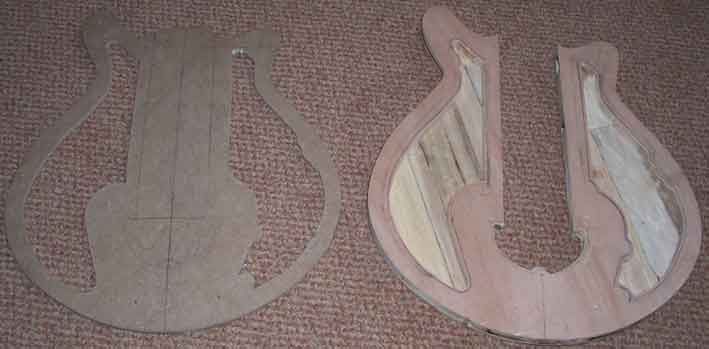
As I stated in the designing pages, I printed out many moons ago a full size picture of the Old Lady herself. Below is a quick comparison at this stage.
18th July 2005
Today I simply marked out the sound cavaties for the blockboard. This will be the next task.

23rd July 2005
Today we firstly started off by creating a template for the cavities. This was simply done by taping my plan of the cavities onto the original template and then using a jigsaw to cut them out.
Next we had to work out how we were going to achieve routing out the cavities. For this I turned to my girlgriend's father who is an expert in woodwork and how to achieve the impossible.
His idea was to use the template and a guide-bush on the router with a 1/4" bit. This will then route out a channel around the inside of the template. Once this has been done then we used another router with a larger bit and a larger guide-bush to remove all the excess blockboard.


For the top section of blockboard where the electronics will be housed, we simply used the 1/4" bit to route through the entire depth of the blockboard.
The final result:


26th July 2005
Today we first set out by cutting out the area of the top blockboard where the oak centre will be, as well as the area for the tremolo unit. We did this simply by using a jigsaw to roughly cut out the majority of the blockboard, and then used a router to get the accuracy.
Next we looked into the best method for attaching the oak centre to the blockboard. With all my research it is not stated anywhere how people have acheived this. I read recently that some RS makers like to keep secrets in how they have done certain things, but as this is a full 'makers guide'/diary I will include my method.
I will discuss the different methods that can be done to achieve joining the oak centre to the blockboard in the 'Designing the Body' section.
The method we eventually went for was a 'tongue and groove' joint, the same as how floorboards are joined together. From a construction point of view this method seemed the best for strength, and hopefully for sustain. So, we started out by routing our a channel down both sides of the oak centre and the inside of the bottom blockboard section, as shown below:
We now cut some plywood that fitted perfectly into the grooves.
We finished the day by joining the oak centre to the bottom blockboard section.
28th July 2005
Unfortunately today the rain never stopped, as most of our work has to be done outside. So we turned to other tasks that can be done inside.
So, we started off by cutting all the fret slots in the fretboard and worked a little on refining the tremolo cavity area.
We then looked into how to create the radius of the fretboard. A detailed description of alternatives will be in 'Designing the Fretboard'.
We decided that the best method for us was to create a radius block that matched the radius of the Red Special (7.25"). A full description of how to do this will be available in 'Designing the Fretboard'.
After we created the radius block we used it on the fretboard using 120 grit sand paper. Once the fretboard had the 7.25" radius we set about refining it and maiking sure it was perfect.
30th July 2005
To start with, the weather was again not in our favour so we had to turn to doing jobs inside.
The blockboard that we had purchased from our local wood merchant was not of very good quality. From the outside it looked very good, but once we cut out the body and cavities there were holes in quite a few places. So we decided to fill in these holes using wood filler for the external holes/gaps and glue+sawdust for the inner holes.
By this time the weather had improved sufficiently that we could venture outside to do some routing. We started off by routing the pickup areas on the upper blockboard section.
Next we looked at how we could attach the top blockboard to the oak centre. We already knew how we were going to attach it to the lower blockboard section, but we wanted to attach it to the oak centre too, for more strength and sound vibrations.
After many ideas we decided to stick with the 'tongue and groove' joint as used on the lower section. We also used this type of joint to join the two upper sections of blockboard to each other (to the left of the tremolo cavity).


We finished the day by gluing in the plywood into the slots in the oak centre but NOT the blockboard. We still need to be able to get into areas of the body to do other tasks, so we cannot glue it yet.
NOTICE
Please note that I have amended the radius specified on this page as I was given incorrect information. The actualy radius of the Red Special is 7.25" and not 9". Sorry if this has caused any problems. Adam Bent 27/10/05