 Guild Pro '93 replica
3rd September 2005
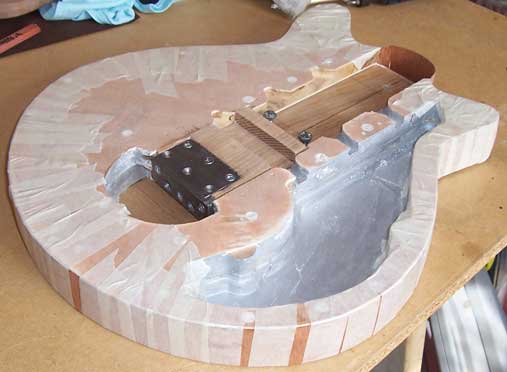
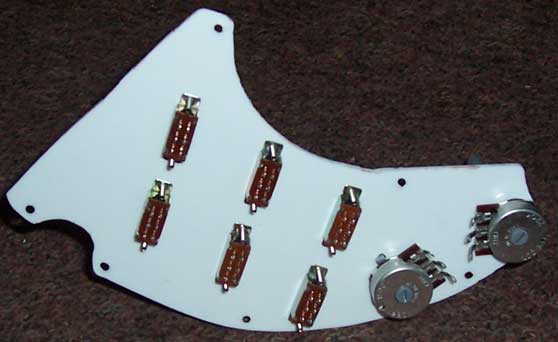
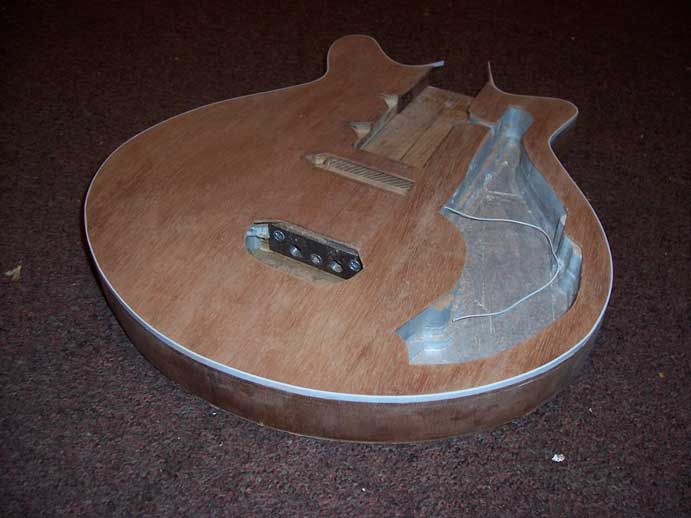
First job on our agenda today was to cut out the control plate. This would then allow me to do the electronics in when I do not have much time to do anything else. So I drilled the holes for the switches, pots, and screws.
After the control plate was created, and refined to fit in the body, it was apparent that it needed more support around the pots, so we created to 'legs' for the control plate to screw to.
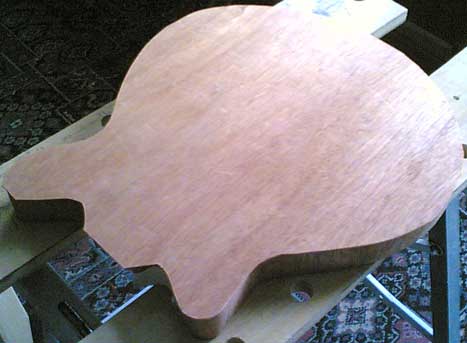
Next we looked at veneering the sides of the body. To start with we had to thoroughly sand down the sides, making sure that they were clean, flat, and capable of attaching the veneer to.

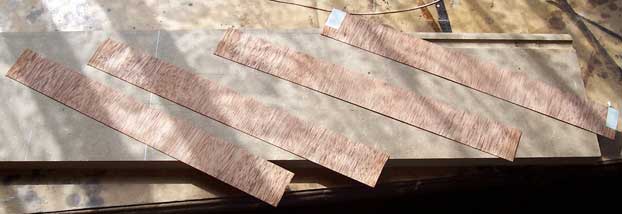
Next we cut the strips of veneer.
Whilst we were doing all this we left a pot of glue in a bowl of hot water. This will allow us the move the veneer exactly into place without 'getting stuck' because of the glue. Also, damping the veneer before you use it will make it more plyable, and easier to work with, and bend without cracking.
Now we were ready to attach the veneer to the sides of the body. We simply smeered the warm glue onto the sides of the body, and placed once piece of veneer onto it. Followed by using lots of masking tape to hold the veneer to the sides. We continued this for the rest of the sides.
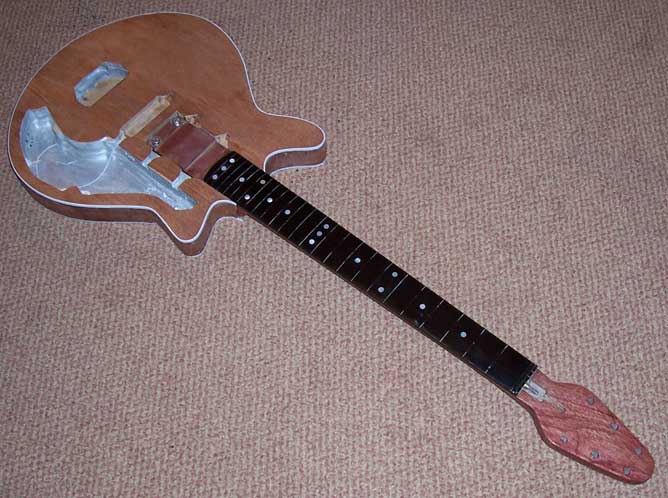
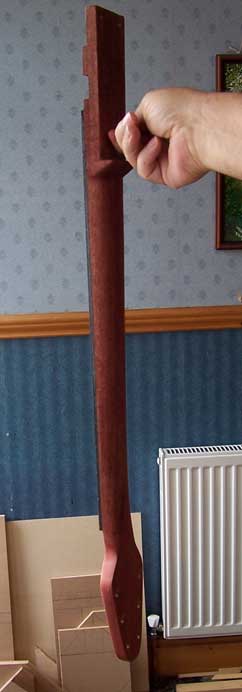
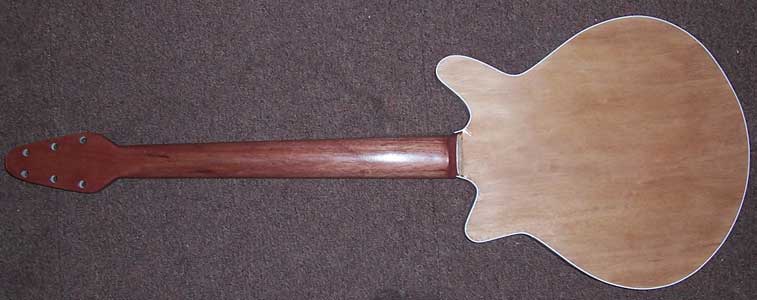
As a final job for the day we stained the neck with a red mahogany dye.
4th September 2005
I didn't have much time today so I firstly removed all the masking tape from the body to reveal pur veneering efforts from the previous day. The results were very impressive. Although it does need a little cleanup as there were a few areas that glue had dripped, and where the veneer strips met, etc.
Now that the dye had dried on the neck I applied the first coat of sanding sealer to the entire neck (including fretboard).
At the point where the jack socket will need to 'go through' the veneer I added a 4mm thick piece of plywood to give the jack socket more strength. This was added to the inside of the veneer.
5th September 2005
During the course of today I applied 4 coats of sanding sealer to the neck. Each time using wet-n-dry between each coat.
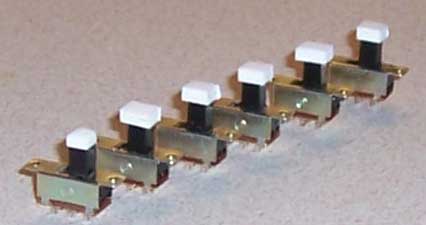
I also started to create the white tops for the switches. The picture below shows all the switches with white tops before I have filed them to the correct shape, except for the first switch. This first switch has been shaped.
6th September 2005
Today I started off by adding another coat of sanding sealer to the neck. Whilst that was drying I continued creating the white tops for the switches.
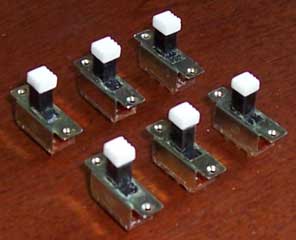
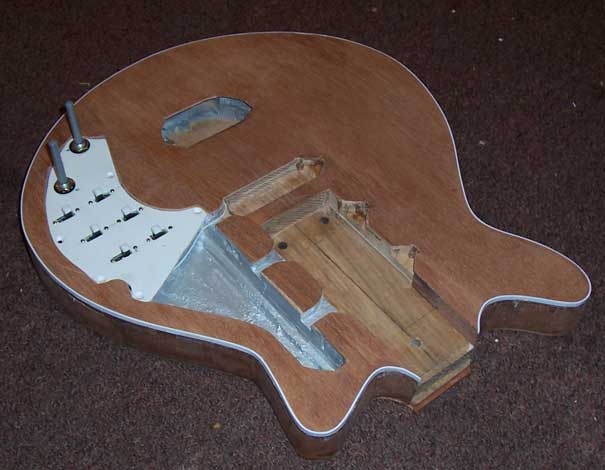
Once that was done I screwed them to the control plate, as well as the pots. Then I started soldering the wires.

9th September 2005
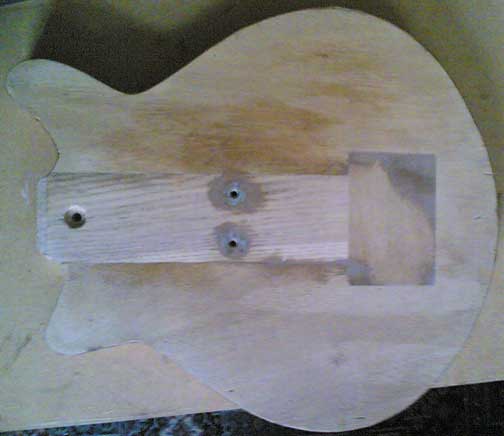
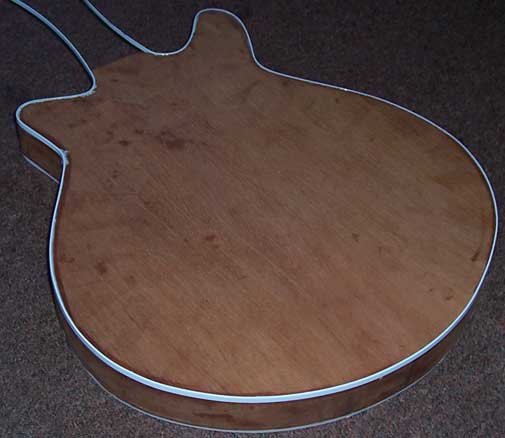
Tonight we quickly added some wood filer to certain areas of the back of the body. We had to do this as there were areas that were not level, and so the veneer would not be able to stick to anything.
10th September 2005
Today we split some of the jobs between us. My girlfriend's dad sanded the neck down and prepared it for another coat of sanding sealer. Whilst he was doing that I cut out the veneer for both the front and back of the body.
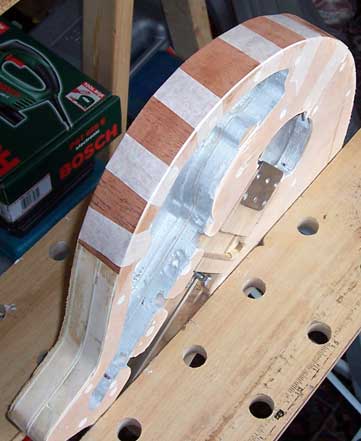
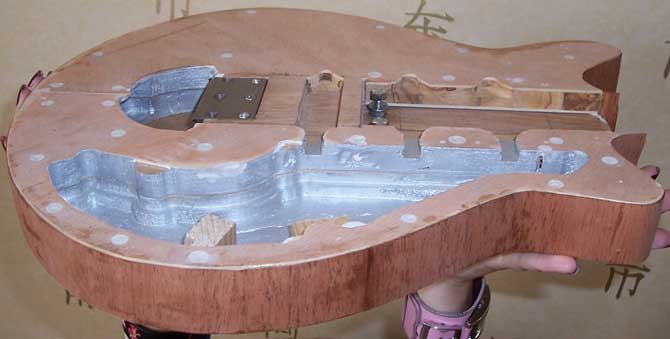
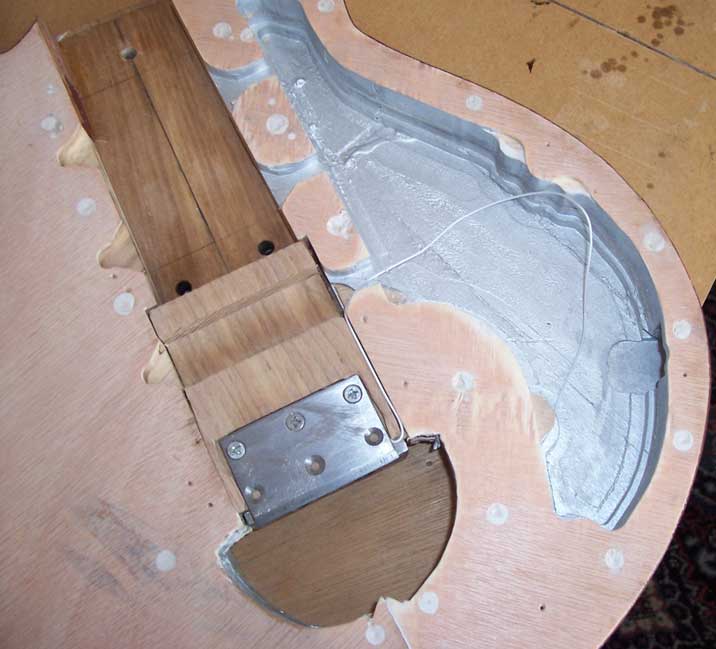
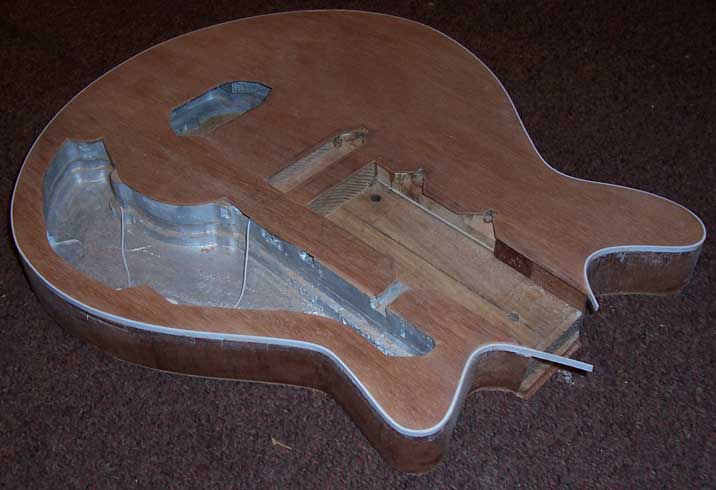
Next we looked at added some pieces of wood around the neck joint to support the neck and veneer. When we originally cut out the blockboard we left a little gap around where the neck entered the body. Now the neck was in its final position we added these extra pieces.
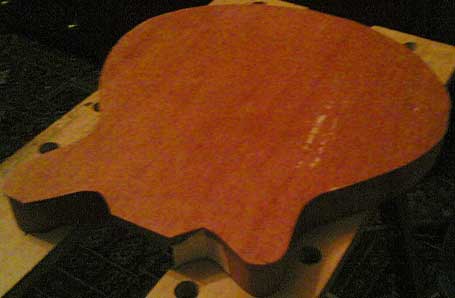
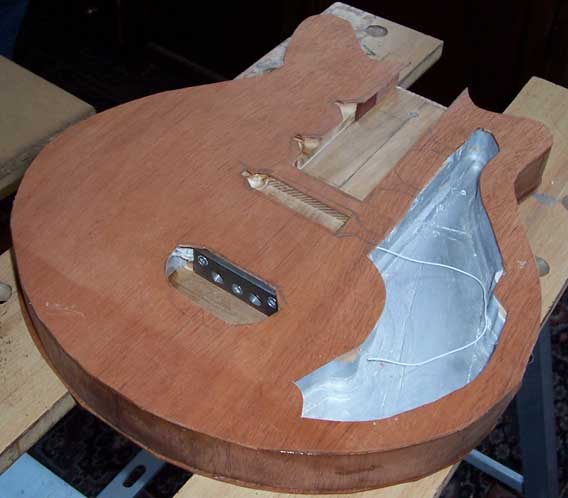
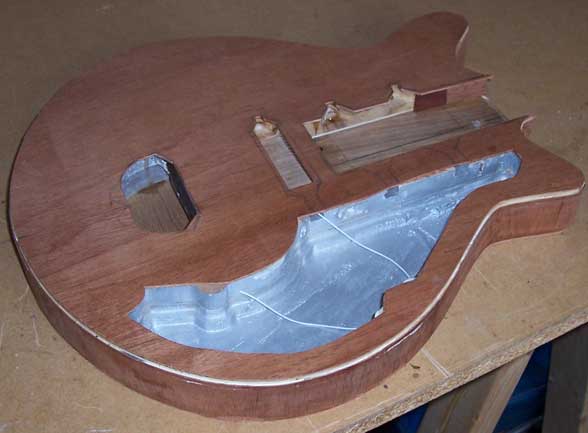
Neck we sanded down the back of the body prior to adding the veneer. The very dark areas on the picture below show where the we added the wood filler.
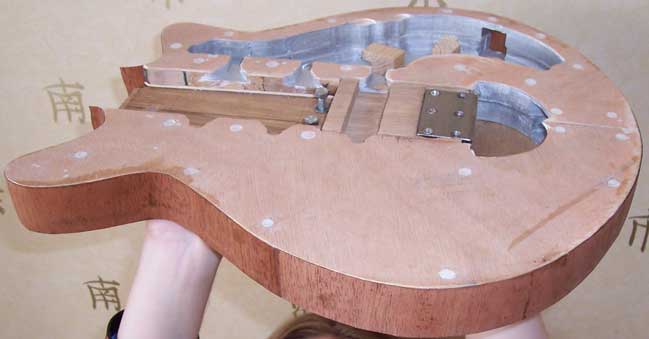
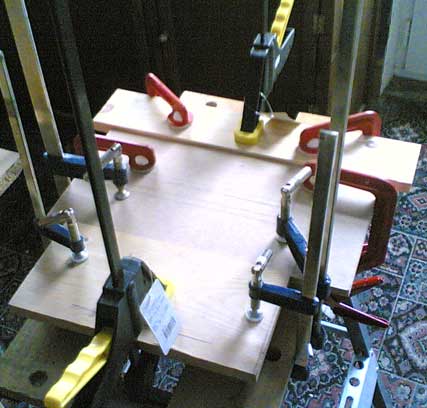
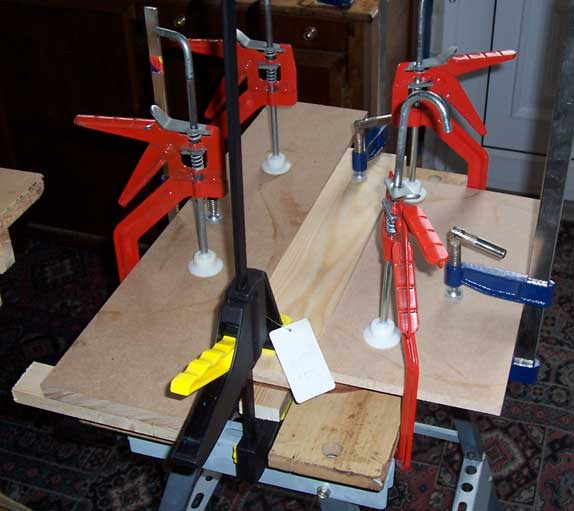
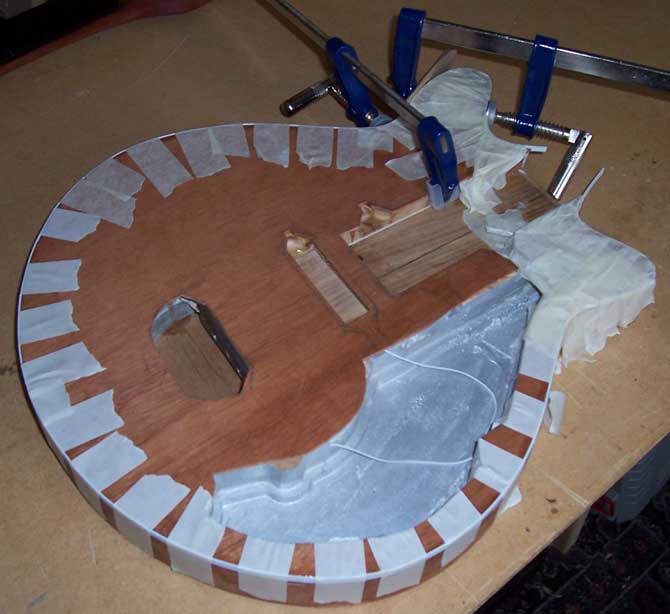
We now applied the warm glue to the body and stuck down the veneer. In doing this we squeezed out all the air and excessive glue, before clamping it down with strips of wood.
11th September 2005
The only thing we did today was remove the clamps from gluing the veneer.
17th September 2005
Today we had a few objectives to achieve by the end of the day. Two of the objectives were to do something and 'leave it to dry'. So we decided to leave these two particular tasks until last.
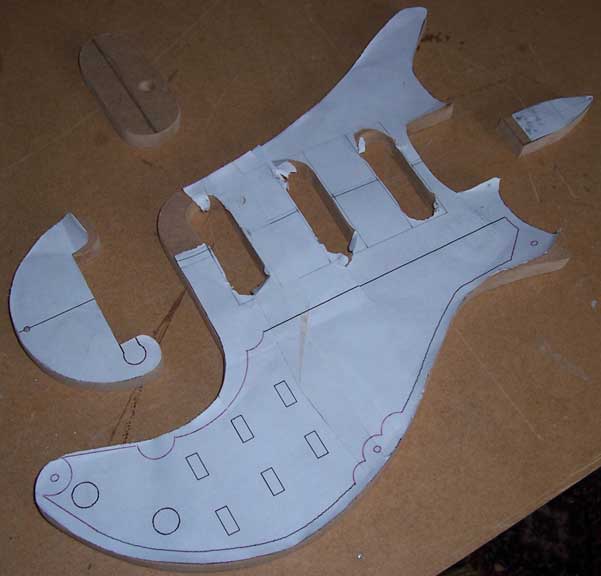
Therefore, our first objective was to create the templates for the scratchplate. I had already printed off the plans for the scratchplate, so we attached them to some MDF for cutting.
We first cut the plans out very roughly using a jigsaw, followed by rasps, files, and sandpaper to get the correct size and shape. This took a long long time to get right.
Once that had been done we moved our attention to gluing the top veneer onto the blockboard. We started by adding a hidden earth wire under the veneer. This was attached to the tremolo unit (knife-edge).
After that we applied the warm PVA glue to the body, and dampened the veneer. Once we had smoothed out the glue we placed the veneer onto the body. Now we had to squeeze out any excess glue, and applying pressure onto the it. Once the glue started to dry we added the all the clamps.
As a final task we applied the first coat of lacquer to the entire neck.
18th September 2005
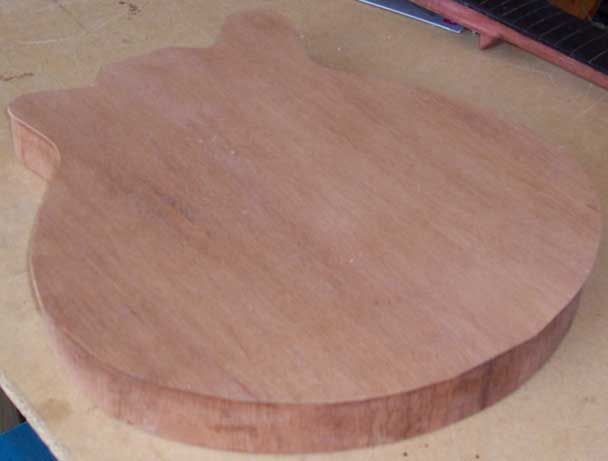
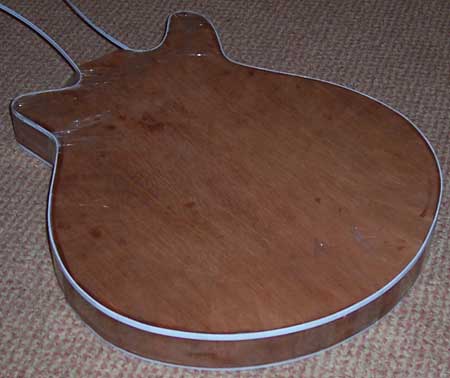
First job of today was to remove the clamps for the body. The results were excellent, very satisfying.
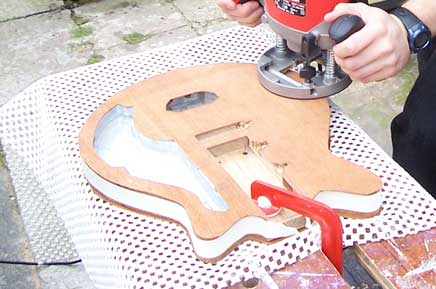
Our main task today was to route both binding channels, and add at least one of the bindings. Unfortunately the router bit/bearing would route a 2mm channel. The binding that I have is only 1.6mm, so we added 4 layers of masking tape around the body to add 0.4mm for the router bearing to cut the necessary 1.6mm channel. The first picture below shows this. The second picture shows the channels finished.
This next task was to glue the binding to the body. This proved to be very VERY frustrating as the binding wouldn't actually stick to the wood, and wouldn't keep it's shape. But eventually we got it all glued on.
Later that day (8 hours later) we removed the masking tape to see the results of the day. The outsome was very satisfying. As a finish to the day we sanded the binding level to the top of the body, as well as removing to dried glue that had spilled out from the veneer.
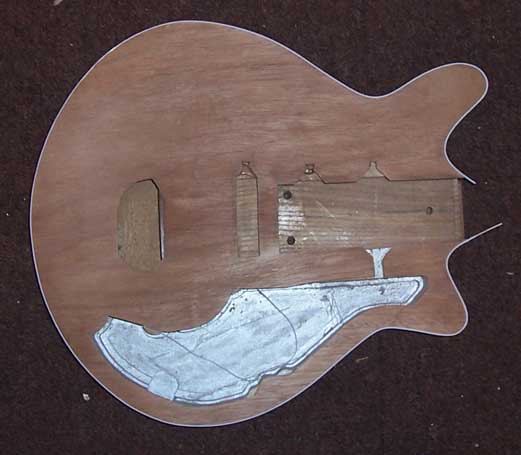
If there is anyone wondering about the top veneer not looking right, it was intentionally made larger. This was done so that we could refine it exactly after it was attached to the body.
19th September 2005
Tonight I did not have much time so I refined the binding around the neck joint, and then cut/filed/sanded down the excess veneer inside the body.
21st September 2005
Tonight I did not have much time so I glued the binding to the lower channel.
22nd September 2005
I did not have much time today so I firstly removed all the tape that was holding the binging to the body.
I then trimmed/sanded the binding on the bottom of the body, so it was level to the veneer.
25th September 2005
During the course of last week my girlfriends father applied a few coats of lacquer to teh neck.
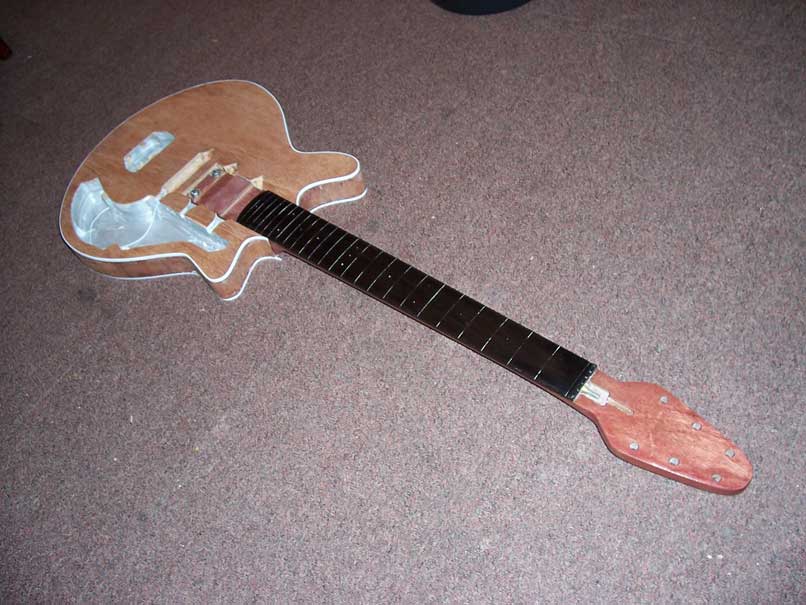

The mother-of-pearl markers on the last picture are not fixed to the neck. They are there purely to see what they would look like.
27th September 2005
With not much time I drilled holes/recesses for the fret markers onto the fretboard. This was followed by gluing the fret markers into the holes/recesses using an epoxy glue.